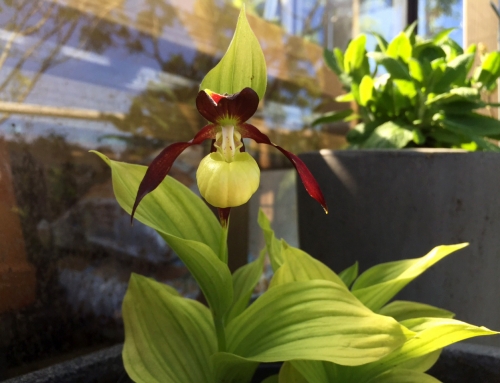
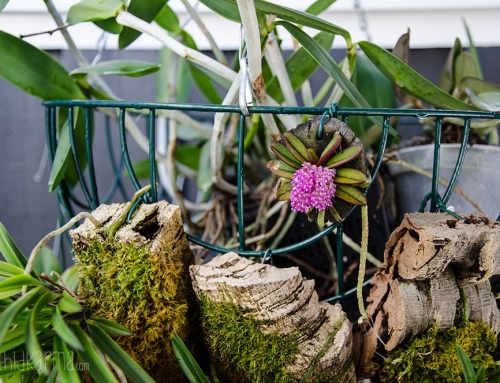
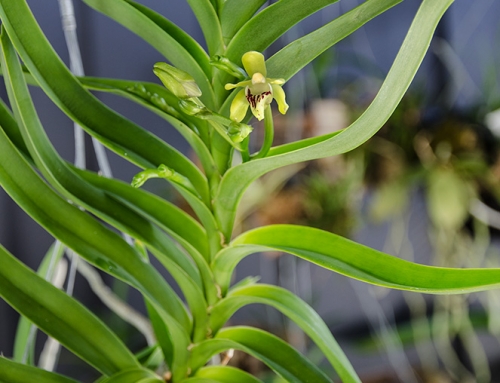
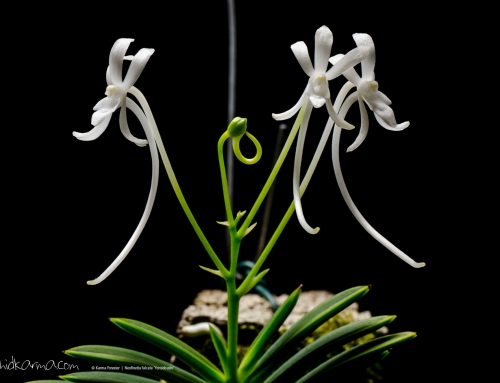
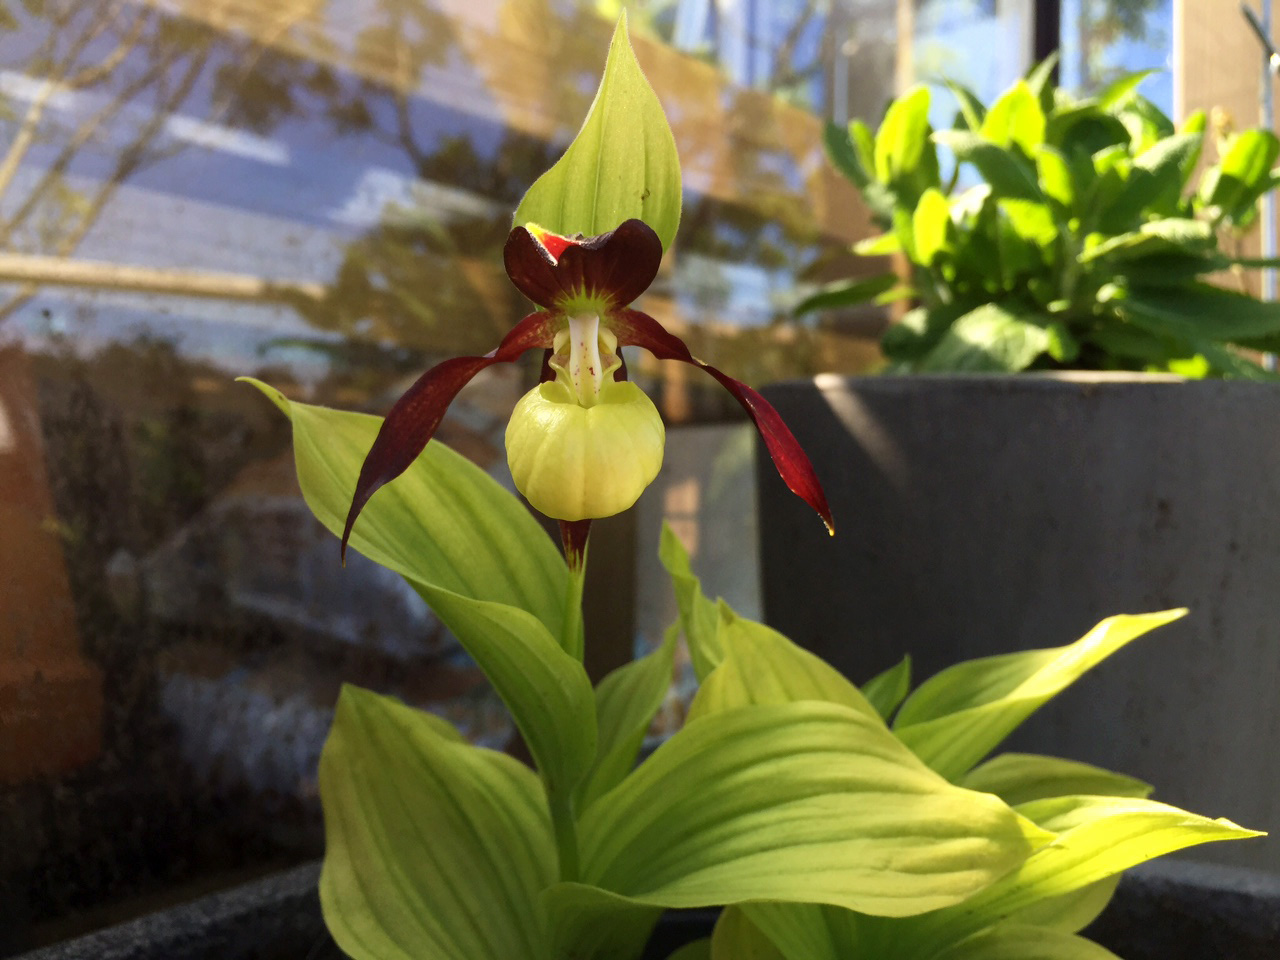
After realizing that my dream about a large growing cabinet for a collection of warmer growing orchids is going to take some time to save up for, I have decided to build a nano-orchidarium to tide me over. What is a nano-orchidarium you say? Well… let me tell you all about it.
Day 1: What does it entail?
Building a small tube and putting orchids in it – no problem. But what do I need to plan for in order for them to thrive in there? I apologize before hand for the scientific mumbo… it’s necessary.
1. Lighting. The commercial version of the nano uses three small 20W halogen spots. I doubt that would be enough light to do much growing if not placed in a naturally bright place, and I am not. So, I plan to use one 20W full spectrum daylight CFL instead – on a timer of course. It will give me about 2500 fc. at 25 cm distance so I should be able to grow orchids in the low to medium range which gives me a lot of options. (more on the science of lighting here)
2. Temperature. What temperature can I reasonably keep in the nano with no extra setup for heating or cooling? The room will be at an average of about 22-24 degrees, but the light will emit some extra heat since it is such a small, enclosed space. So, my target should be warm to hot growers. (more on temperature here)
3. Humidity. The clay pipe will be filled with water, so it will evaporate hopefully generating enough humidity both through the sides and the open top. Otherwise I will have to put a tray with leca and water on the bottom as well. (more on humidity here)
4. Air circulation: A must… so I will have to install a small fan in there. A 90mm computer fan should do the trick.
Hmmm… I think that is about it for starters.
