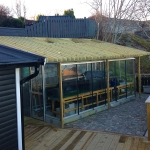
I am probably no different than most hobby growers turned fanatic, and we all begin to dream of a greenhouse sometime along the way, the Holy Grail with seemingly limitless possibilities. Needless to say, creating orchid culture nirvana doesn’t just happen. Building a greenhouse is quite an undertaking requiring a lot of planning and hard work. My case was no different. The greenhouse build has been the most requested topic I have gotten while silent, so I figured it was a good place to start – even though I knew it would become a monster post. In the spring of 2013 we broke ground – and here is the story. There are a bunch more photos at the very end that might help clear things up. I hope you find it helpful if you are considering doing something similar, or just enjoy the ride, it’s on me!

Before you go ahead and build a greenhouse, ask yourself:

  • Why do I want a greenhouse?
  • What desire does it fulfil or what problem does it solve?
  • How am I planning to use it?
  • Where can I build it?

In my case:

  • Why – I want to be able to move out to the summer cottage a lot earlier in the season and stay longer into the fall than weather allow for outdoor culture.
  • What – Since weather here is unpredictable (even in the summer) and I also grow some species with special requirements, which are hard to meet outside of a controlled environment, the best solution for me was to build a greenhouse.
  • How/use – In Sweden, or most temperate regions, heating a glass house in winter is very expensive, so most opt for a non-heated greenhouse for late spring to early fall use only, as did I. Besides, I would not be out here much in the winter anyway.
  • Where – a good location is key, I only had one option and it was not ideal, so it took quite a bit of work to make it suitable. Of course I wanted it close so I could keep a close eye on things, but I also had to consider things like light, shade, wind, water etc. In terms of light, greenhouse manufacturers recommend a west to east orientation giving maximum exposure to natural light placed far from obstructions such as high trees of buildings. But since I grow cool/intermediate orchids I rather welcome some natural shade so we made sure to save a few shade trees on the sunny side when preparing the site. Oh, it faces north-east, not much to do about that.

Location

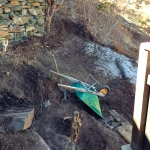
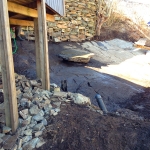
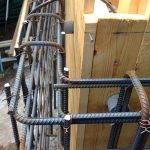
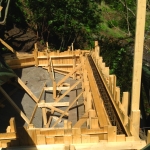
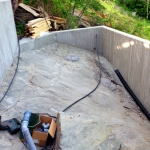
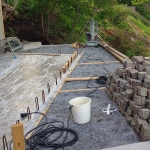
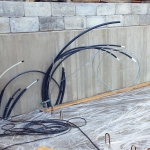
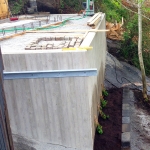
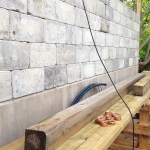
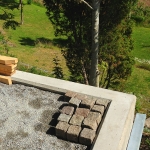
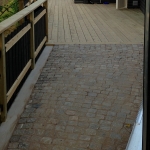
My site is a mountain hillside with a relentless 45-degree angle, so first we needed to construct a level foundation. Good thing my dad is a visionary and an engineer with a lot of connections. To clear the site in time for the construction workers to do their part before summer vacations started we had to start this work in April when the ground was still frozen. There was no way to get heavy machinery to the site, so we manually had to jackhammer the ground loose in chunks and cart it off piece by piece in a wheel barrel! After the backbreaking labor of exposing the rock face we could finally call in the heavy artillery, professionals who constructed a concrete surround filled with gravel on which they poured the concrete slab for the greenhouse floor. Around the outside of the greenhouse we put down charming pavers instead to soften the impression in the landscape. Turned out great!

Design

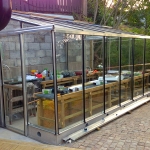
  • Brand: Classicum Serralux Vägg
  • Type: lean-to, aluminum frame
  • Size: 10 square meters (450 cm long, 225 cm wide, 244 cm ridge height, 15° pitch)
  • Siding: 4 mm tempered glass
  • Layout: 2 compartments (1/3 cool, 2/3 warm)
  • Features: 3 roof hatches, 2 sliding doors, 1 mesh door
  • Foundation: concrete floor with a 20 cm tall ventilated concrete base
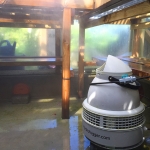
  • Technology: rain system (Vivaria), humidifier (Hydrofogger), metal halide 400W daylight light fixture, two space heaters, thermostats, timers, hot/cold running water
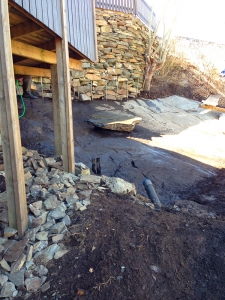
FInally ready for foundation work!
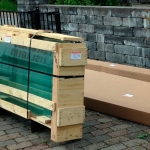
Building from scratch or ordering a kit? – There are many factors to consider here… size, style, material, construction, build quality and of course price. After a Google deep dive I found something that suited my needs, with some modifications. Luckily they were open to accommodate my ideas. Since my building site was on a steep slope and I already had a tall stonewall behind me, a lean-to design was the obvious choice here. So one whole side of the greenhouse consist of a wall. The existing 30-some-odd-year-old shale stonewall was a little precarious and in need of some structural support, so when making the foundation we also poured concrete about one third up the wall and then lay massive concrete bricks the rest of the way, firmly securing the wall in place for all eternity. Seriously! This lean-to deign is good for a number of reasons. The stonewall makes the climate inside a bit more even and mild absorbing excess heat when it is hot and emitting warmth when it is cooler. The structure also holds up to wind better as the wall takes the brunt of the coastal storms coming from the western ocean side. It also shades the structure somewhat from the burning afternoon sun.
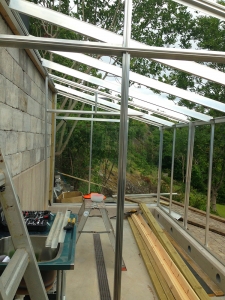
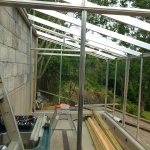
A million pieces to assemble.
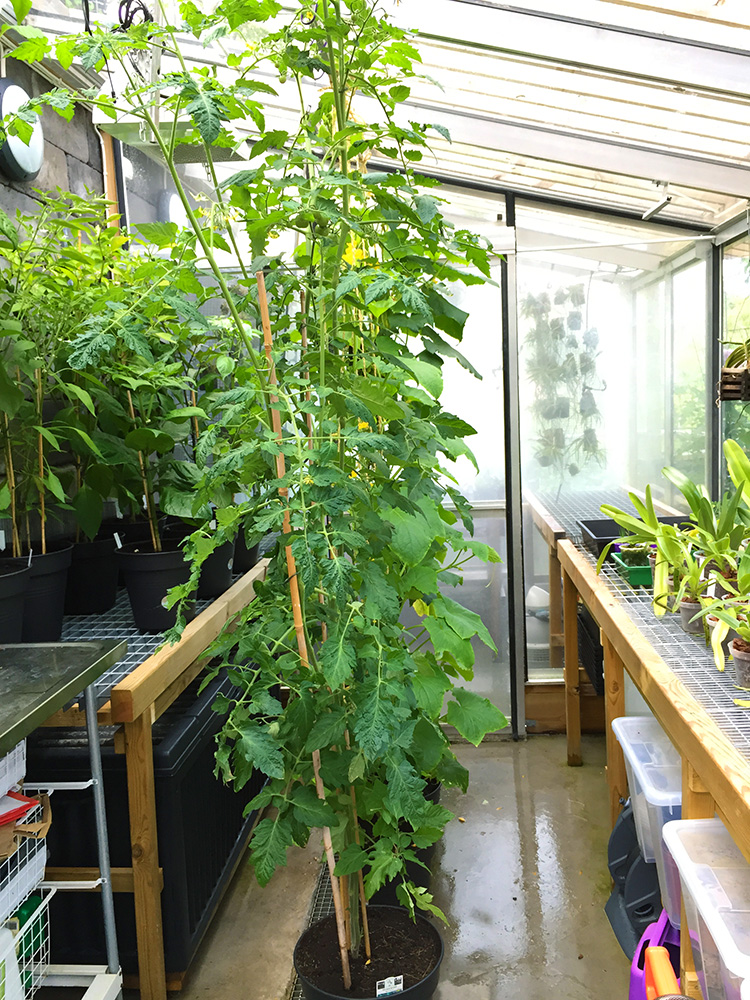
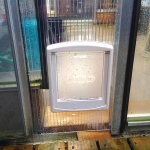
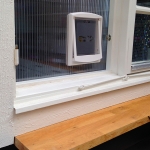
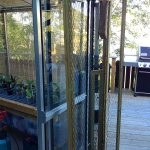
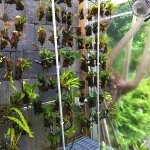
Layout – I customized the standard kit by adding an internal glass wall with an additional sliding door, effectively dividing the greenhouse into two growing zones. I create a cloud forest environment in the smaller 1/3 inner room for the cool/intermediate growing pleurothallids, and use the larger outer room for intermediate/warm growing orchids as well as a few edible seasonal plants such as chili pepper, tomato and cucumber. I also created a small cat pen between the cottage and the greenhouse by designing a low profile folding gate between the two structures. Cat doors let her move freely through the kitchen window and also into the greenhouse, even when the latter is closed up to conserve heat on cooler days. Nova loves the greenhouse too!
Sliding door.
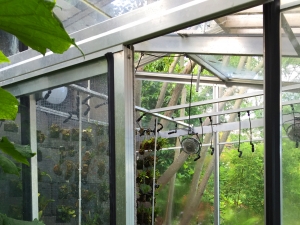
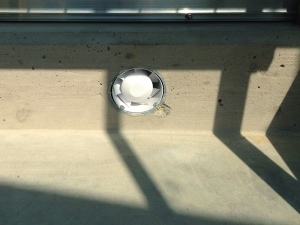
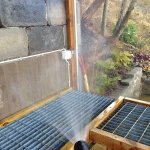
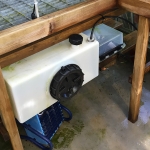
Ventilation – I added an extra roof hatch for ventilation, which was max what the structure could take, because you can never have too much ventilation options – and heat rises after all. I also built in several ventilation holes along the foundation walls creating a natural and gentle airflow inside the greenhouse. Cooler air comes in around the base pushing warmer air up and out through the roof hatches. In one of these ventilation holes in each room I also installed a small duct fan to pull in additional air during really hot days. There is a bit of a tradeoff using these however as they are a little nosy and can also contribute to humidity drop inside as they tend to pull in a lot of dry air. So I use they sparingly, manually and monitor everything closely when I do. For general circulation inside I always keep a few small fans running too.
Base ventilation duct fan.
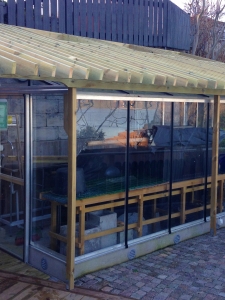
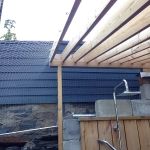
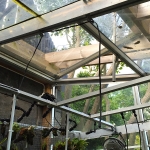
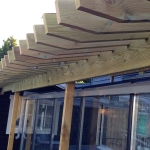
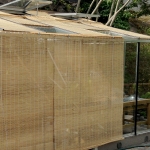
Temperature – First summer with a greenhouse I became acutely aware of how warm the combination sun and glass could be. Of course that first summer turned out to he a very nice and warm one and temperatures in the greenhouse soared! As I was pulling my hair, dad pointed that he thought greenhouses were supposed to be warm… fair enough. But since I grow cool to intermediate orchids I need to keep my greenhouse fairly cool, despite the summer sun. Difficult to do when surrounded by glass and the sun is out almost 24/7. I originally thought I would be able to manage this using a shade cloth, I had after all gotten the extra fancy one with aluminum strips, but there is something inherently wrong with trying to cool a glass building from the inside and hanging the shade cloth on the outside was not really an option with the high winds we often get out here by the coast. I temporarily solved it running inexpensive bamboo drop down shades over the outside glass but I needed a more permanent solution. That fall we built a pergola over the greenhouse. Turned out great! So now I basically have a greenhouse inside a shadehouse. The growing space receive gentle filtered sunlight all day while at the same time keeping the temperatures much more manageable. I also keep my old portable air conditioner handy should we get freakish hot weather at some point, but so far I have not had to use it. We get very few tropical nights here in Sweden, so even though days can get a bit warm for the pleurothallids, the cool nights make up for it so they don’t get too stressed.
Pergola
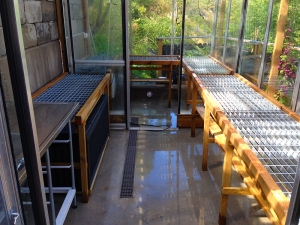
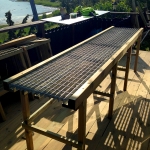
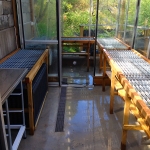
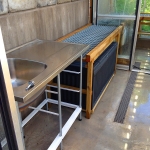
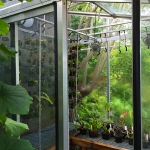
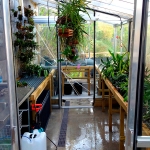
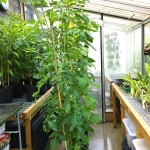
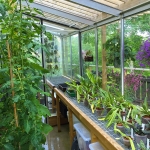
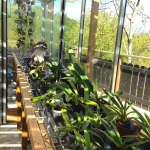
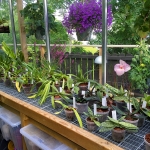
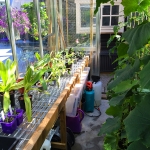
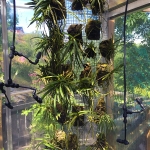
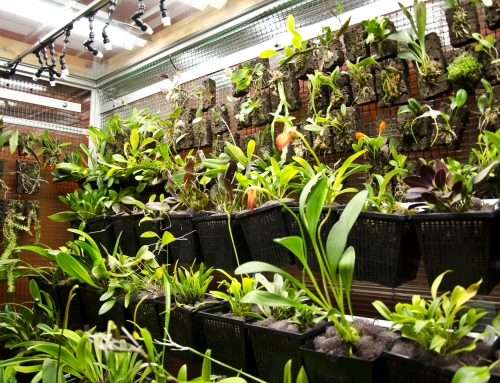
Interior – To maximize the space I custom built benches using simple frames made from pressure treated lumber with a galvanized metal grate on top (the kind used for industrial walkways and scaffolding). Functional and easy to keep clean. Planks placed across the supports create a shelf where I place plastic bins for storage while still keeping the floor free of clutter and clean. I chose pressure treated lumber so it would stand up to the high humidity environment longer, but wanted to keep minimal contact with plants and the material just incase it is toxic. This system has worked out really well. I also use a standard utility sink with running hot/cool water as a small workspace along the wall just inside the sliding door. Mounted orchids hang on large cylinders made from galvanized mesh. This provides good structure, ample space and really good air flow – thanks to Marni for the inspiration!
Custom benches in, and you see the sliding door to the second zone.
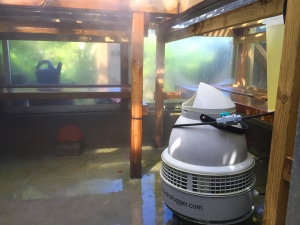
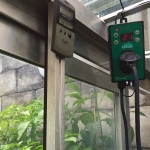
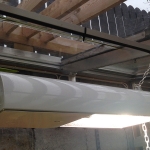
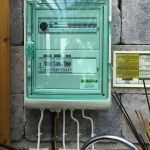
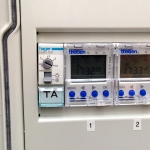
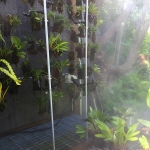
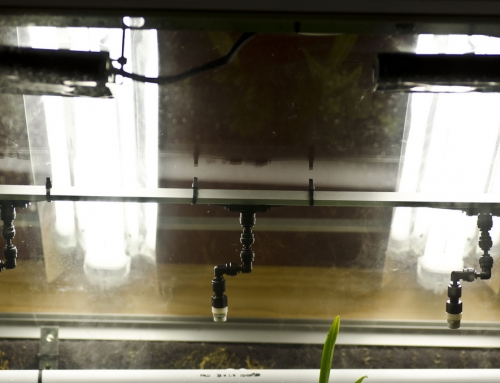
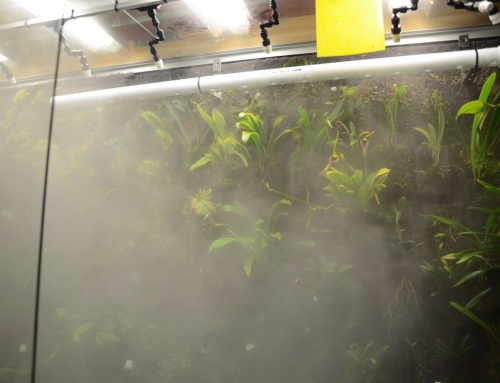
Technology – Of course I needed some automation in order to not go mad! A few timers installed in the electrical service help me program the different climate controls such as light, rain and fog. For now I use the light, a huge metal halide fixture, in the larger growing room. But I could probably use one more in the cool room for support early spring and late fall when days are short and sunlight scarce. The cloud forest climate is created using a Vivaria rain system, same as I use in the vivarium, along with a Hydrofogger humidifier – thanks Jacob for the recommendation, this thing rocks! Early spring/ late fall, and summers like this one, I use space heaters on thermostats to manage temperature, one in each room. I could go more technical with all this, and I probably will a little bit at a time, but part of the relaxation in the summer comes from tending the plants, so I don’t mind doing some by hand. For example, I water the warm zone and handle fertilization manually.
Hydrofogger humidifier.

So, did having a greenhouse live up to all the hype? Yes! Will it be a constant project of adjustments and improvements? Probably. Knowing what I know now, would I do it again? Oh yes! My recommendation is to build as large as you can comfortably fit and afford. You will almost always wish you had more space and you will experience less dramatic temperature fluctuations and better air movement in a larger growing space than a smaller one. My greenhouse is 10 square meters, and I would say go no smaller than that if you can.

Finally, I like taking a little extra care to make it beautiful too, not just functional. This is my little peace of heaven on earth and I remind myself to pause, take it all in and just enjoy – often.
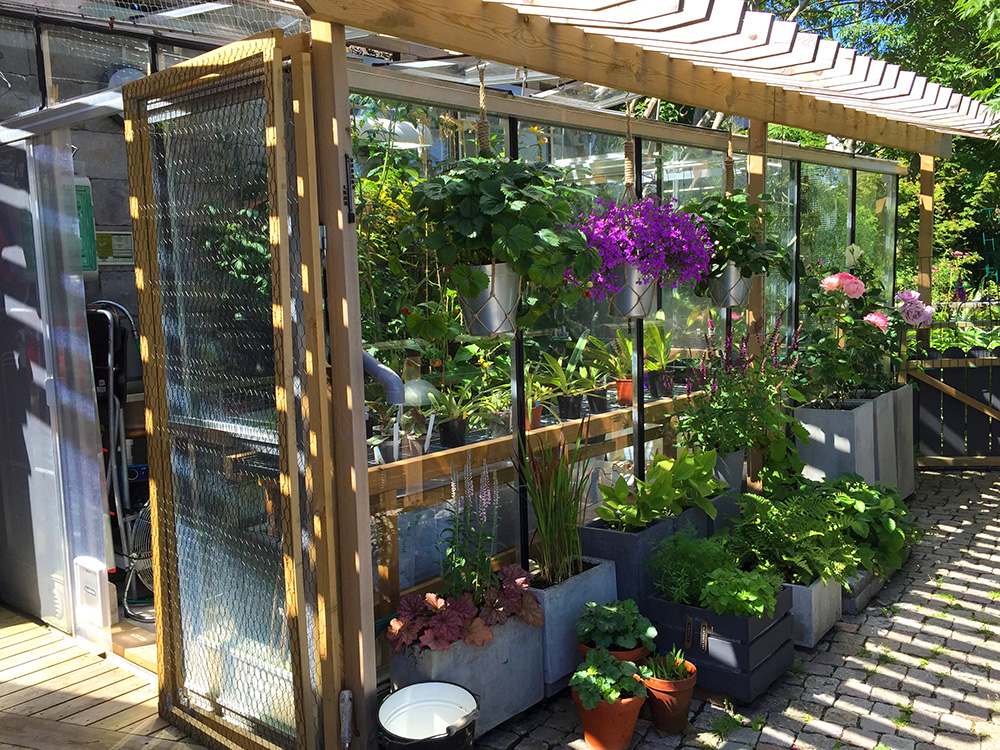
greenhouse 2015

Building notes