
Now we are getting really close to completing the build part of this project – finally!! This week most of the big stuff came from Dartfrog in the UK, lights, rain system and a bunch of other assorted goodies. So, it was a really heavy week, but this is the home stretch. Good thing too, I think dear husband is starting to burn out a little bit on this project. He has been a great help on this build, I really would have had a difficult time pulling this off without his help. Thanks dear!
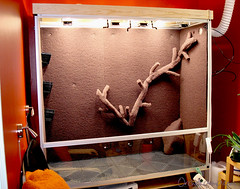
First out, finishing the cool air installation we started last week. We made the intake to the outside look a little nicer with the help of some white duct tape, is it anything it cannot do? Ehm… The design of this terrarium is working out for me in more ways than I had originally expected. The small plexi pieces on the sides of the vivarium ,originally providing air holes for the snake, provided the perfect entry opportunity for my ventilation holes. I drilled a hole for the fogger and one for the cool air. Then I installed a cool air vent with a gravity controlled hatch that will limit the cool air flow when the fan is not running. It also made it easy to attach the flexible tubing to the side of the vivarium. A hole cut in the EpiWeb will allow for the cool air, as well as fog to enter. More on the fog at a later time.
Next, installing the drain and fans. I had bought a drain plug from Dartfrog, but I did not like the design so I installed another one I got from Bauhaus. Again, the vivarium design played into my scheme… Having a plexi (or whatever the plastic material is) floor made the drain installation a breeze. I drilled a hole in the vivarium floor to drop in the drain, then made another larger hole in the slightly larger particle board placed on top of the TV bench to support the vivarium. The whole assembly was siliconed in place. Next I installed four 80 mm computer fans in the aluminium L brackets installed to mount the rain system, two blowing up towards the ceiling, and two blowing downward. These will ensure good air circulation inside the vivarium even when the cool air intake is switched off. I will work on dialing these in as we go – how to direct them and the power supply can also be adjusted from 3,5 volt up to 12 volt incrementally.
So to the big stuff… lights and rain system. I have not been able to find any fixtures for the new 80W Dulux bulbs I wanted to use, so I had to make my own. The order from the UK came with electronic ballasts, and all the pieces necessary. But I also needed reflectors, and of course there was nothing pre-made for these bulbs to be found either. So, I got a 120 mm Jewel reflector made for regular T5 tubes and gently pushed on them to change the shape to fit my wider Dulux tubes. Then I cut them in half and screwed the two pieces together to make one wider reflector, worked like a charm actually. I attached the four lights to two aluminium rods mounted to the top wood frame. But the aluminium rods could not support the full weight of the lights so I had to put in L brackets mid way to help support some of the weight. A quick fix that worked out really well. We lifted the assembly into place and plugged in the lights. I thought the room was bright before… he he. These lights kick some serious butt!
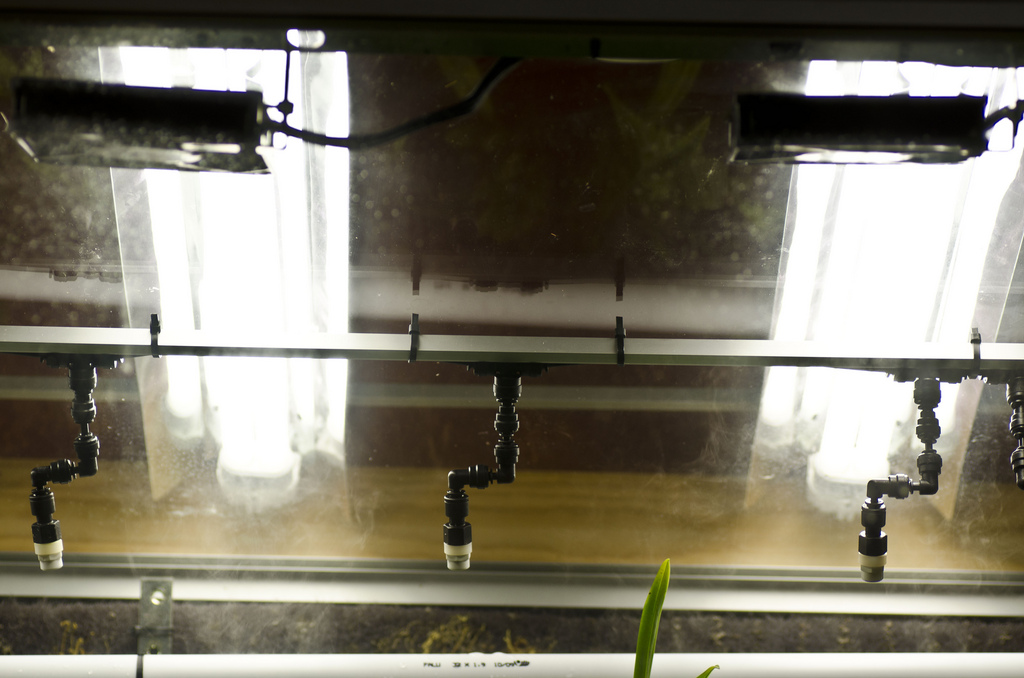
Finally, time for the Vivaria rain system. We drilled several large holes in the aluminium L brackets attached to the alu-frame both above and below the sliding doors to attach the rain nozzles. The holes are large enough to drop the whole nozzle assembly though and it was easy to connect the water hoses in between each nozzle and finally out through the same hole as the power cord for the fans. This design keep the nozzles in place and all the hoses can neatly rest on the L bracket. I had originally ordered 6 nozzles, but drilled holes for 10 just in case. I realized that I should have ordered a few L connectors for the last set of nozzles on each line, t0 cap the water line… and since I also need a bit more of the 6mm hose to connect the pump for system I placed a new order for the missing parts and included two additional nozzles. I am dying to try it out, but all in good time.
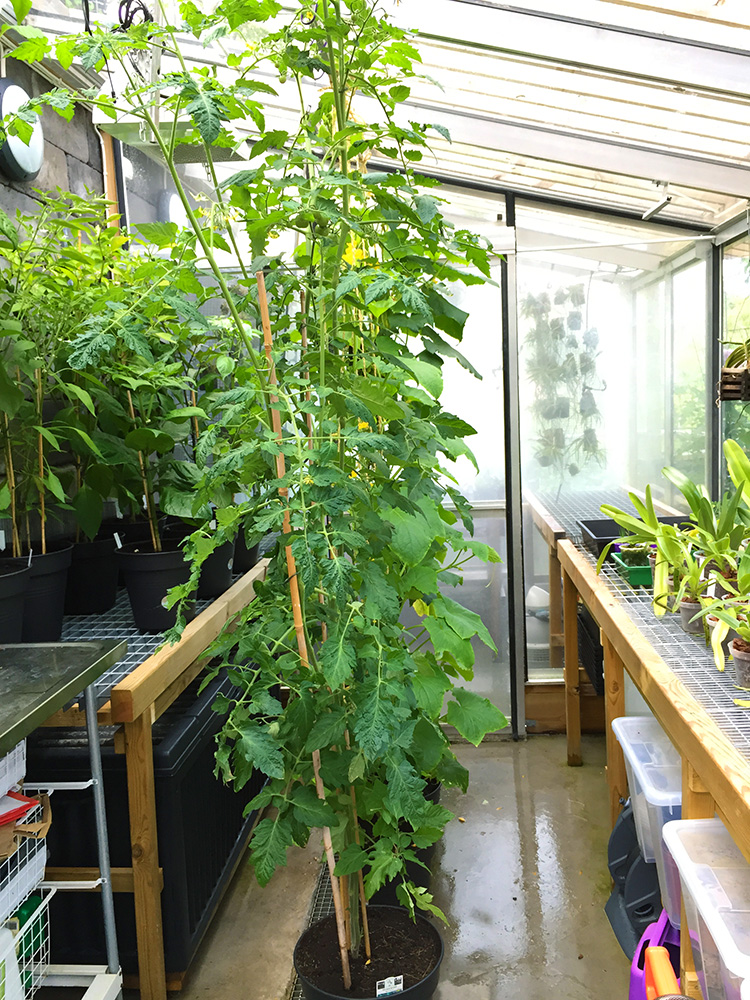
Tomorrow we fly to Cannes for some well needed vacation, but I know I will be able to enjoy the time away knowing that the build is almost done and ready for my impending Peruvian arrivals next week.


PS! I edited this post to put all the photos in one place, it was bothering me how messy it looked before. What can I say, I’m a designer…)

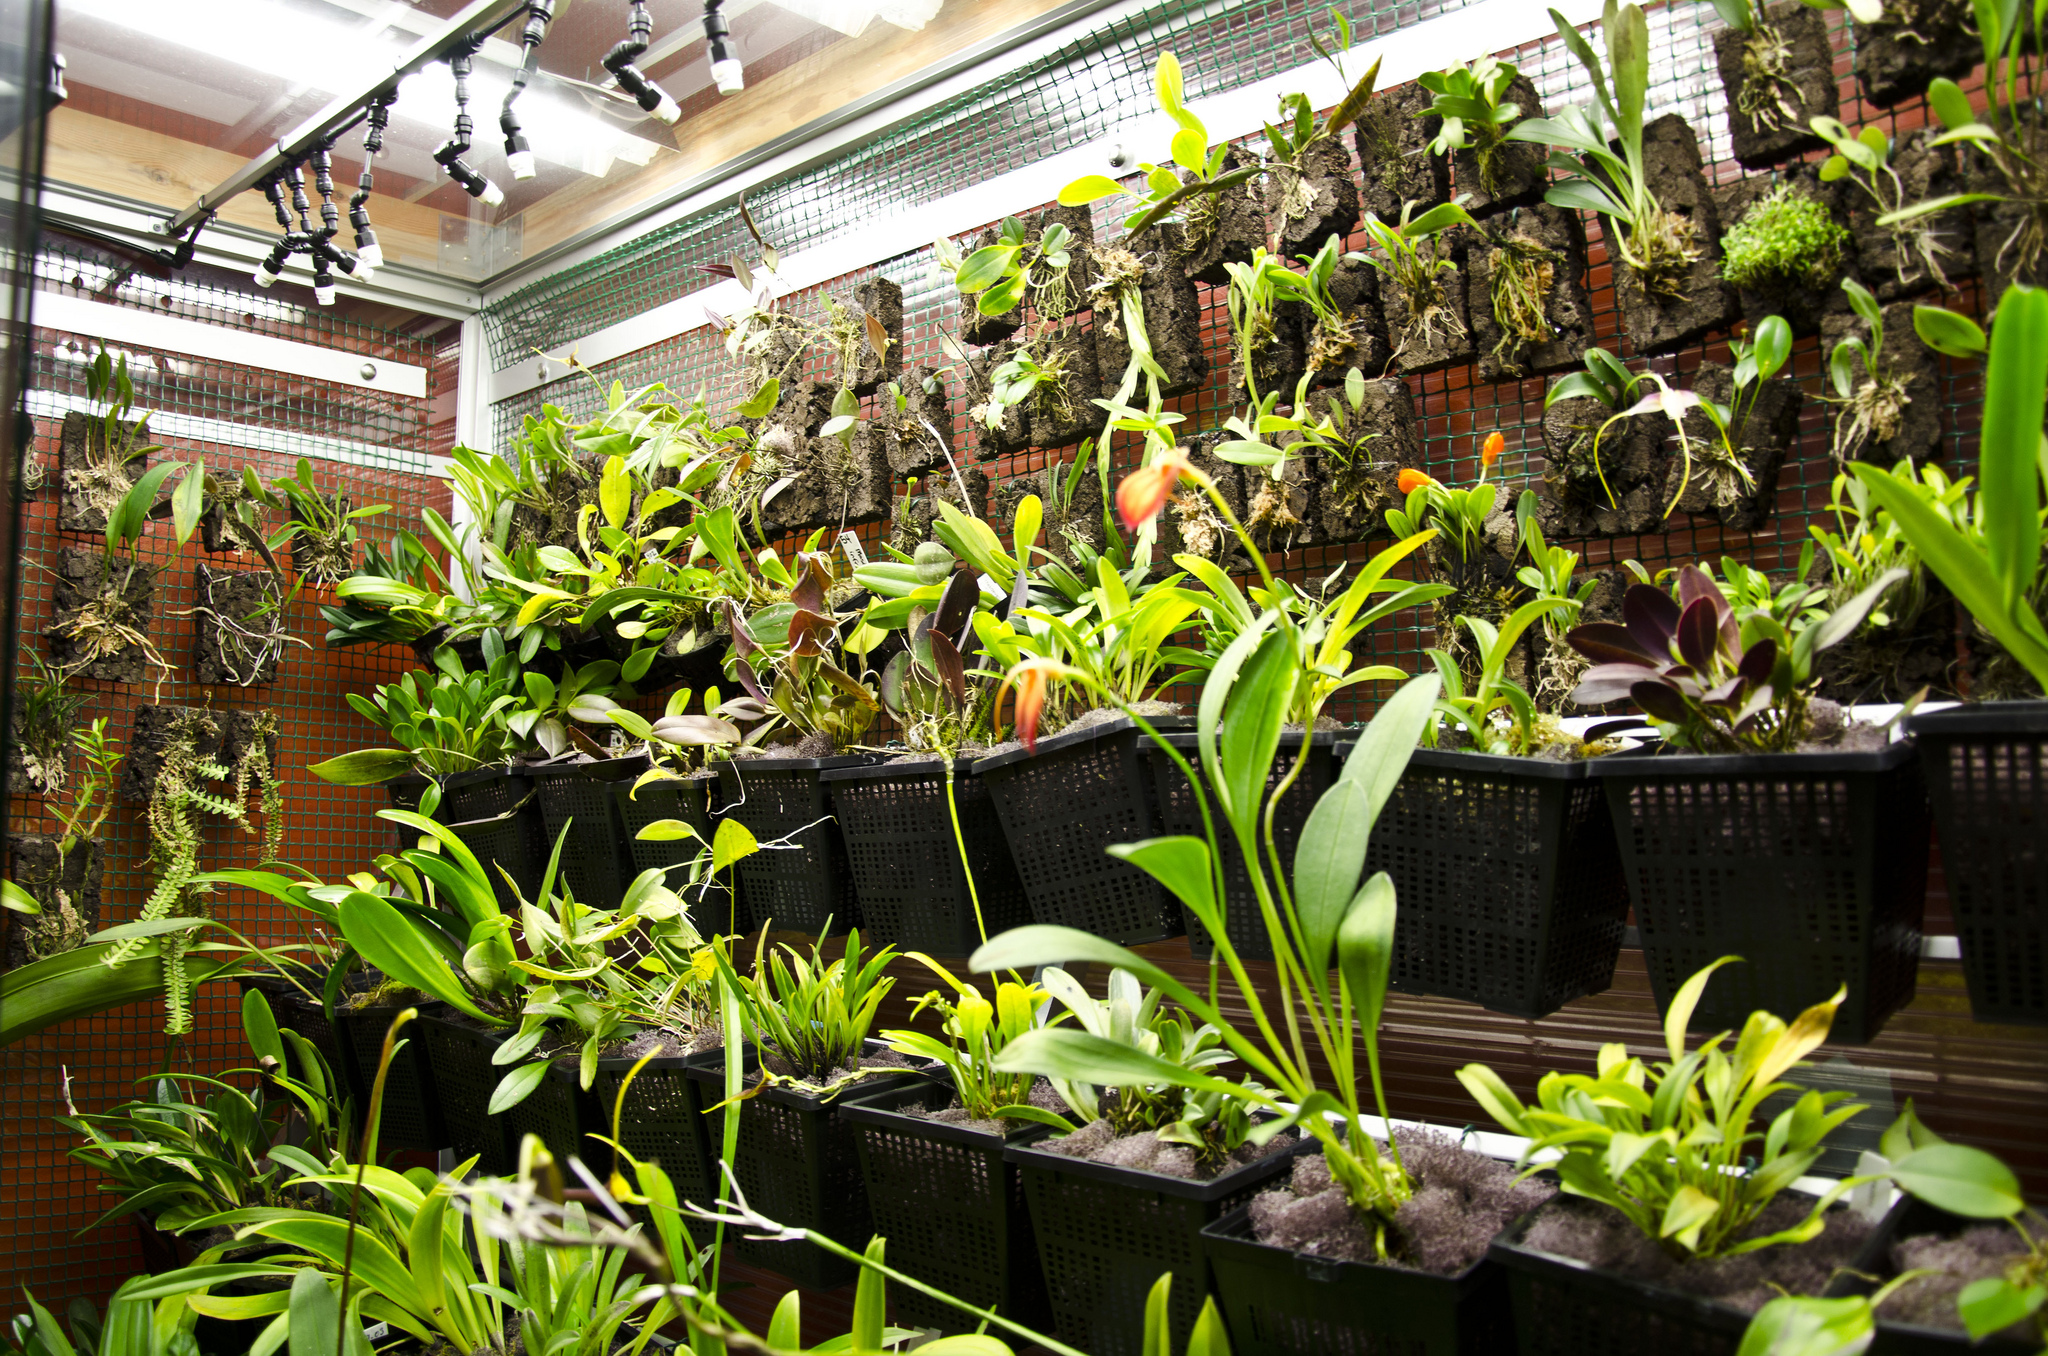
Looks great Karma! The orchids will live in a 5 star vivaria!!
Have a great time down in Cannes! Hope the Peruorchids will arrive soon!!
Happy easter!
Pontus
Thanks Pontus! Happy easter to you too. 🙂 Yes, dear husband keep telling me it is a very ambitious project, 5 star at least, he he… I am looking forward to the new arrivals. I can’t wait to see plants in the viv. too at last. I placed an order yesterday from Ecuagenera for Sofiero Show pickup too. Fun!